Hydraulic installation
Hydraulic installation: practical numbers, costs, and trade-offs, written independently.
Hydraulic installation: practical numbers, costs, and trade-offs, written independently. The guide below shows the numbers and the trade-offs.
- Typical range
- Varies by system and site
- First step
- Measure the space and confirm the load
- Professional help
- Recommended for structural or electrical work
Some links on this page are affiliate links.If you buy through them we may earn a commission at no extra cost to you. We do not accept payment for rankings. Read the full disclosure.
Hydraulic boat lift installation means setting a lift whose cylinders and fluid pressure do the lifting, connecting the power unit, and testing the system under the boat’s loaded weight. It is the heaviest and most expensive of the common lift installations: the equipment runs $15,000–$35,000 and professional installation adds $1,000–$3,000. The work is as much plumbing and electrical as it is structural, which is why the site survey matters more here than on a cradle lift.
What Makes Hydraulic Installation Different
A hydraulic boat lift raises the boat by pumping fluid into cylinders, rather than winding cable onto a drum. That single difference changes the installation: hoses instead of cables, a power unit instead of a winch, and a pressure test instead of a tension check.
There is no cable to spool, but there are fittings to torque, lines to route without kinks, fluid to fill and bleed, and seals that must hold under load. A hydraulic lift also has more places to leak, and a leak is not cosmetic. It is lost lifting force and a slipping platform.
Site Conditions That Decide the Design
Four site numbers drive the design before brand enters the conversation. Water depth at low water decides whether the boat can float onto the platform or off the bunks. Bottom condition decides how the base is set and whether pilings need driving. Dock or seawall condition decides what the lift can be tied into. Distance to power decides whether the electrical run is a short drop or a long trench.
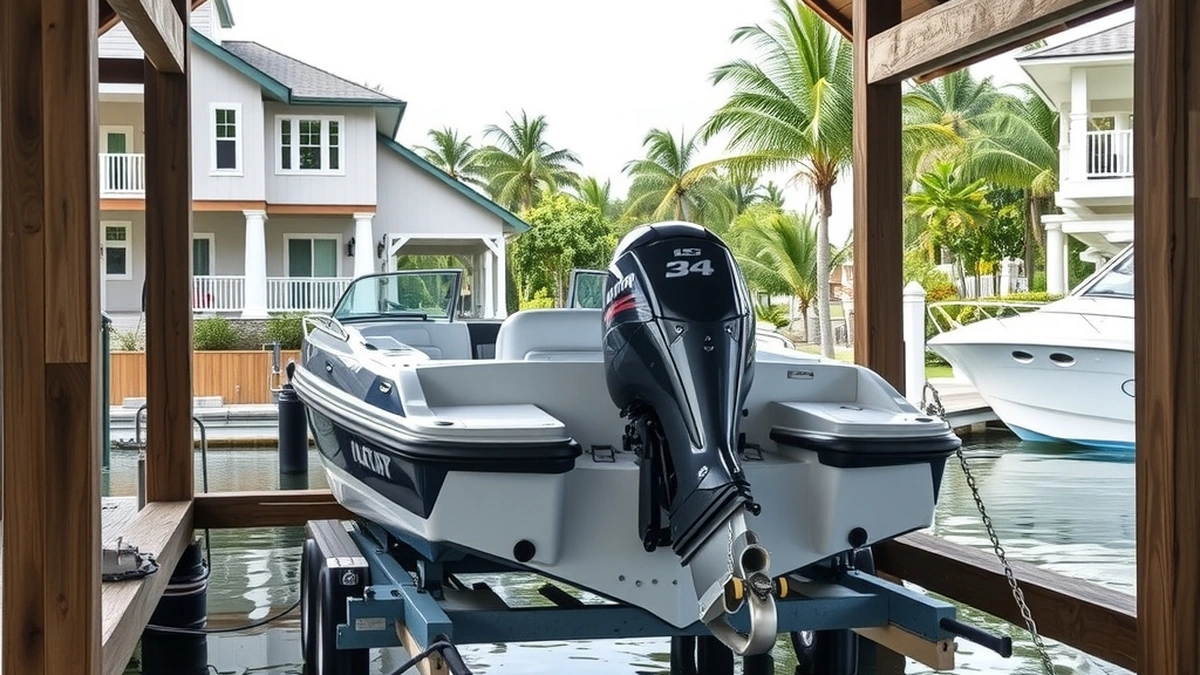
Most residential hydraulic lifts fall into two families: units with cylinders that sit in the water, and units with above-water rams. Submerged cylinders need corrosion-resistant finishes and more attention to seals. Above-water designs keep the hydraulics dry but need more structure at the dock. Which one fits is a site question, not a preference.
Equipment and Installation Numbers
Plan with these estimates, and add the columns rather than comparing equipment prices alone.
| Lift type | Equipment (USD) | Installation (USD) | Installed total (USD) |
|---|---|---|---|
| Cradle lift, 4,000 lb | $5,000–$12,000 | $1,000–$3,000 | $6,000–$15,000 |
| Elevator lift, 10,000 lb | $12,000–$25,000 | $1,000–$3,000 | $13,000–$28,000 |
| Hydraulic lift | $15,000–$35,000 | $1,000–$3,000 | $16,000–$38,000 |
Build a project total from parts. A $22,000 lift plus $2,500 installation gives $22,000 + $2,500 = $24,500. If the dock needs two new pilings and a longer electrical run, those are separate line items on top. If the dock itself is inadequate, dock construction is $15,000–$60,000, which changes the project from a lift purchase into a waterfront build.
Capacity math comes first. A boat weighing 9,000 lb loaded, with a 20 percent margin, needs 9,000 × 1.20 = 10,800 lb of rated capacity. That pushes you above a nominal 10,000 lb unit, and the price moves with it. Buying a 10,000 lb lift for a 9,000 lb boat leaves a 1,000 lb margin, about 11 percent, which is tighter than most installers recommend.
Hydraulic vs Cable-Driven Installation
Cable-driven installation is mostly mechanical alignment: sheaves, drums, cable tension and a level cradle. Hydraulic installation adds a fluid circuit, so the installer has to plumb, bleed and pressure-test before the lift moves a boat.
The trade-off is maintenance shape rather than difficulty. A cable lift asks for inspection and tension checks; a hydraulic lift asks for fluid level, hose condition and seal checks. Hydraulic wins on smooth, quiet lifting and on holding a heavy boat without a brake fighting the load. Cable wins on initial cost and on simpler field repair. Neither is a DIY project when the boat weighs tons and the dock is over water.
The Installation Sequence
Installation starts with the base. The lift’s feet or brackets are set on the bottom or mounted to the dock, and the frame is leveled. Level matters more than it looks, because an out-of-level platform loads one cylinder harder than the other.
Next the cylinders and arms go on, followed by the power unit. Hoses are routed with slack for travel, secured so they do not rub, and kept clear of the boat’s path. The unit is filled with the specified fluid, and the system is bled by cycling it slowly without a load.
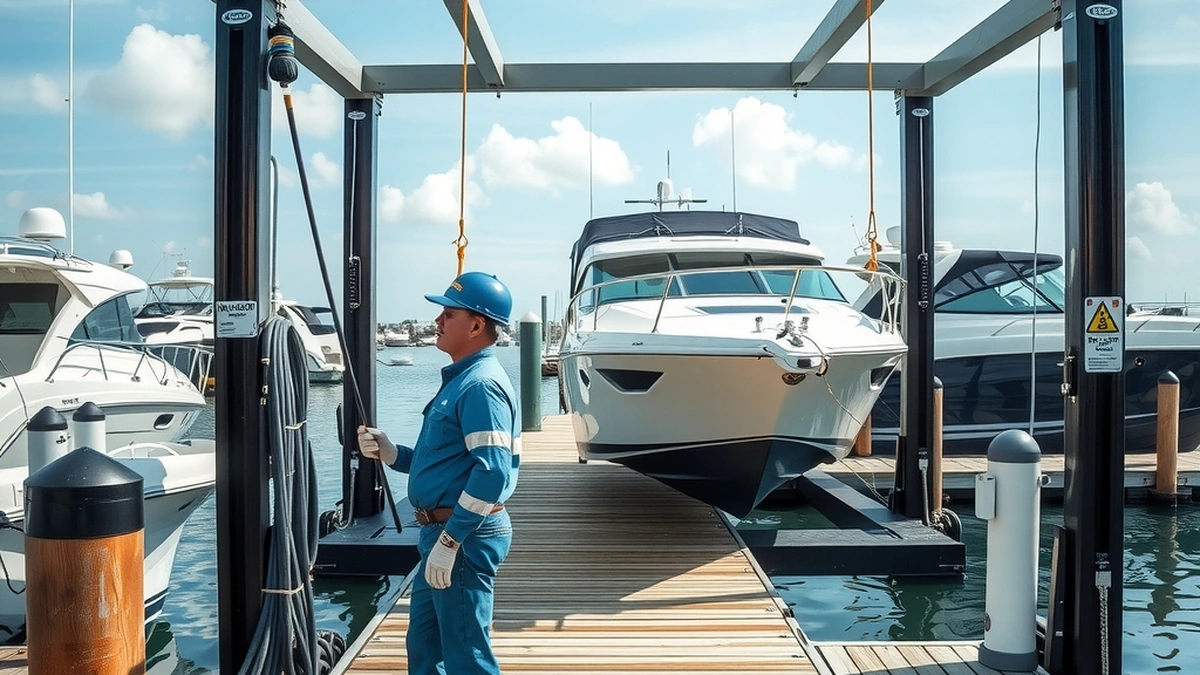
Then the electrical connection: a dedicated circuit, ground-fault protection, and a control station placed where the operator can see the entire lift. Finally the load test, first empty and then with the boat, watching for drift, tilt, and fluid weeping at any fitting.
Permits, Power and Load Testing
Most waterfront work needs a permit, and electrical work at a dock almost always does. The permit question is local: building department, county, and sometimes a lake or river authority. Ask before the equipment is ordered, because a lift sitting on a trailer while paperwork clears is an expensive paperweight.
The load test is the acceptance test. With the boat aboard, the lift should rise smoothly, hold position without drifting down, and stop at its limits. Any drift under load points to a leaking cylinder, a failing valve or air in the system, and it should be corrected before the lift is used routinely. A lift that is not rated for the boat, or whose rating plate is missing, should not be operated at all until the manufacturer or a qualified installer confirms capacity.
Five Checks Before You Sign
- Confirm the rated capacity in writing and compare it with the boat’s loaded weight plus 20 percent.
- Confirm low-water depth against the lift’s required entry depth and the hull’s draft.
- Ask how the base is fixed and whether new pilings are included in the quote.
- Confirm the electrical scope, who pulls the permit, and who signs off the inspection.
- Get the pressure-test and load-test procedure in writing, with the acceptance criteria.
If a quote cannot answer those five points, it is a price, not a plan.
Maintenance From Day One
Hydraulic systems reward attention. Check fluid level and look for weeping fittings monthly during the season, rinse saltwater off rams and hoses, and have the system inspected annually. Fluid that is low or milky points to a leak or water ingress, and both reduce lifting force.
Our hydraulic maintenance guide covers the routine, hydraulic problems covers drift, noise and slow travel, and hydraulic cost breaks the purchase numbers down further. For the installation side of the other common designs, see cradle lift installation, and for the broader project budget, boat lift cost.
Hydraulic installation is a licensed-trade job with a homeowner decision at the front of it: capacity, depth and power. Get those three right and the rest is execution.
Frequently asked questions
What is the most important measurement?
Start with the ceiling or clearance number; it decides which systems can fit.
What does a typical project cost?
Costs vary by system and site access; the guide shows the line items and a planning range.
Can I install this myself?
Some tasks are DIY-friendly, but structural, electrical, and load-bearing work should be done by a licensed professional.
How long does installation take?
A simple setup is a weekend; a full build with electrical or structural work can take several weeks.
What should I check before buying?
Confirm dimensions, load ratings, and the manufacturer's installation requirements for your exact model.
Where can I find local help?
Ask a licensed contractor or installer who has worked with the same system and can inspect your site.
Sources
Some links are affiliate links.If you buy through them we may earn a commission at no extra cost to you. We do not accept payment for rankings. Read the full disclosure.